Chocolate balls on the cake - do-it-yourself chocolate decorations for the cake
To prepare chocolate balls for decorating cakes with your own hands, you will need attention so as not to disturb the temperature regime, patience and a willingness to work carefully and concentratedly. If you have these qualities, then follow my step-by-step photo recipe and, then, a beautiful New Year's chocolate decor in the form of balls will soon appear on your cake or dessert.
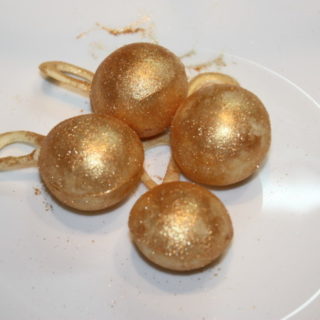
Chocolate balls for decoration
Ingredients
For 4 chocolate balls we need
- 35 gr white, dark or milk chocolate
- kandurin for painting - I have a gold one
instructions
How to make chocolate cake balls
- Pieces of white chocolate are placed in a bowl and sent to a steam bath. At the same time, the bottom of the bowl should not come into contact with boiling water. Let the chocolate heat up to 45-50°C. Now, you can remove it from the bath and stir. Even if you have small lumps of chocolate left, it's not scary. As you stir, they will melt into the hot chocolate. By the way, if you want to make colored balls, then it's time to add the fat-soluble dye of the desired color and mix it with hot chocolate.
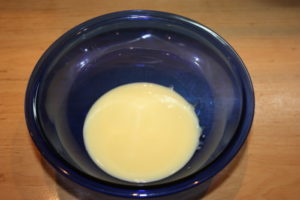
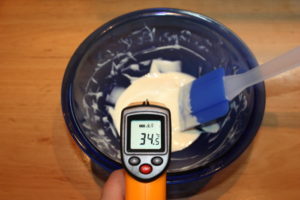
- Now we transfer about 70% of hot chocolate to a marble board or a flat glass surface and begin to actively mix it with a spatula / silicone spatula. At the same time, we constantly measure the temperature. As soon as it has reached 27-28 ° C, transfer this portion to the bowl with the remaining hot chocolate and mix. We need a temperature equal to 33-35 ° C - this is the operating temperature. It's time to make your own chocolate decor for cakes.
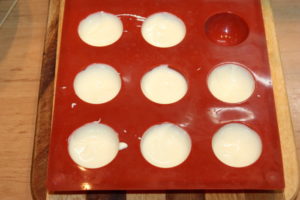
- Place the mold on a cutting board. Pour tempered chocolate into 8 hemispheres. Using a small spoon, distribute it over the entire hemisphere. Then, turn the form upside down and let the chocolate drain into some container and return the form to its place. Let the chocolate in the molds completely dry.
- When the chocolate hemispheres are completely frozen, carefully remove them from the mold.
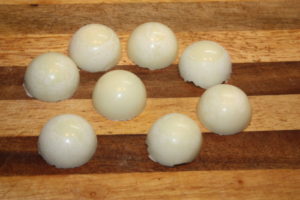
- We heat the pan, lower one hemisphere onto it, literally, for 1 second and immediately connect it with the second hemisphere. It is necessary to work very quickly and carefully, since chocolate hemispheres are thin and fragile. Loops can be formed from the remains of chocolate and glued in the same way as we connected the hemispheres. Thanks to the loop, you get the effect of a New Year's toy.
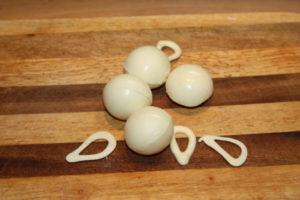
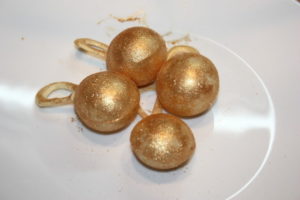
- When the balls have cooled, gently run warm hands over the junction of the hemispheres. This will give them a smoother shape and hide the connecting seam. Now, take a brush and cover the finished balls with kandurin.
notes
 I note that to work with chocolate, especially at the moment when we remove the hemispheres from the mold, it is better to use disposable thin gloves.
The author of this video shows two recipes: how to make chocolate balls from chocolate and cocoa butter, and the second option - from icing and chocolate. Links to all the products you need to implement the idea can be found under the video on the author's YouTube channel.
If you need Christmas chocolate balls, then be sure to watch this video. The author not only demonstrates the preparation in detail, but also shows how to decorate chocolate balls for the New Year. Such a simple decor makes it possible to decorate not only the New Year's cake , but also smaller holiday desserts.
The last video recipe that I want to offer here will help you prepare not only New Year's chocolate balls, but also such chocolate decorations for the New Year as a cone and a Christmas tree. Such a simple and interesting chocolate decor makes it possible to make for the New Year not just a cake with balls , but to decorate your dessert with an edible and original New Year's composition.
