DIY chocolate decor for cakes
Chocolate decor for cakes and desserts always adds elegance and glamor to sweet dishes. Making it at home is not at all difficult. There is only one thing: chocolate decorations require attention, care and time. The main thing is not to write off during the preparation of the decor and everything will work out. Your desserts will acquire not only a chocolate taste, but will also enchant your sweet tooth. To help, I offer a detailed, step-by-step description with a photo of each stage. Decorate your desserts and surprise your family and friends.
Ingredients:
- 100 grams of dark chocolate at least 62%;
- 15 grams of butter 82%;
- 4 tbsp. spoons of milk 3.6%;
- transparent food paper;
- a simple pencil or pen;
- ruler.
How to make DIY chocolate cake decorations
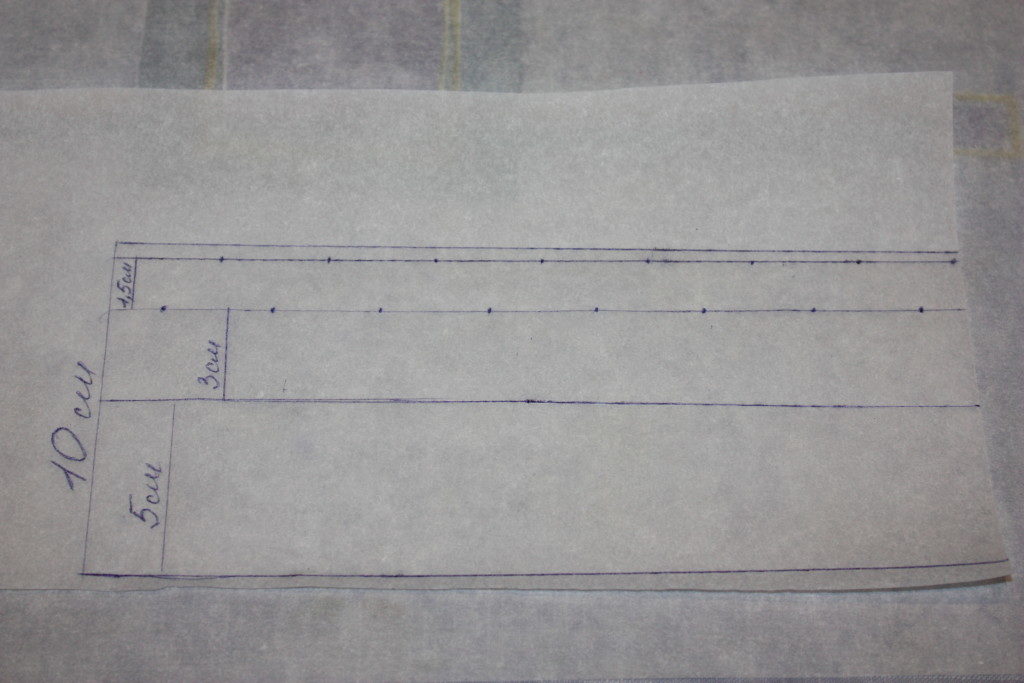
We begin work with the preparation of a stencil for chocolate decor. To do this, you need to measure the diameter and height of your cake. In addition, I am preparing a decor for ice cream, which I will serve in portions.
Cut out a strip of transparent food paper 10 cm longer than the diameter and 3-5 cm higher than the width of the cake. This is necessary for the convenience of work. With the help of a ruler and a pencil / pen, we draw the zones where we will draw with chocolate. At the same time, remember that the finished decor should be slightly higher than the finished product.
When you are done with drawing, turn the strip over to the other side. Do not draw with a pencil or pen. The drawing is clearly visible from the reverse side, so we will draw on it.
I make my own drawings for decor.
How to make chocolate for decoration
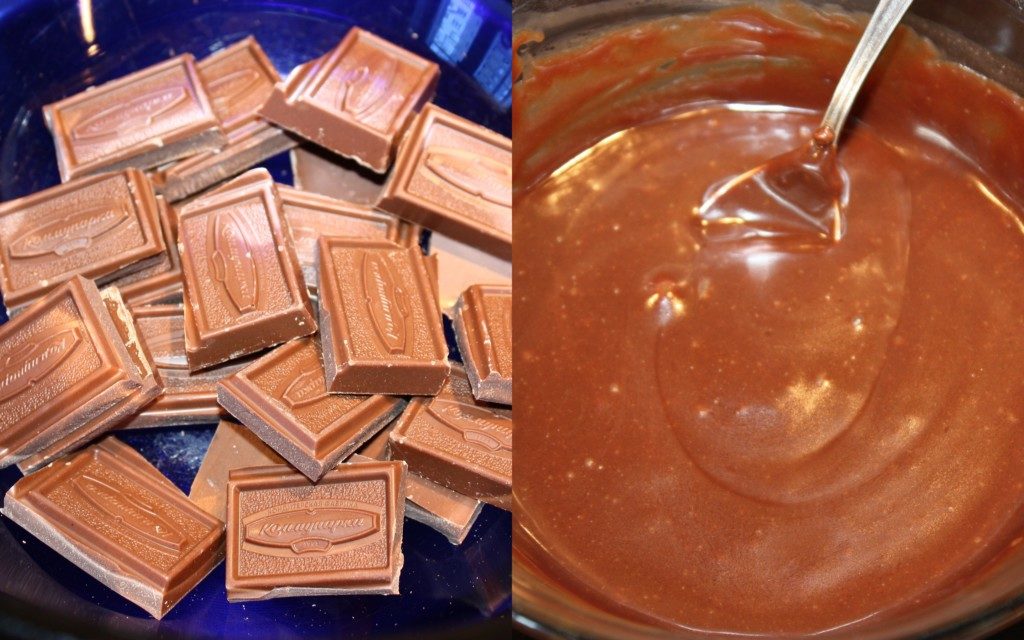
Melt chocolate in a water bath, add hot milk with butter to it. They can be heated in the same dish in the microwave. We mix everything until a smooth mass. Set aside liquid chocolate for decoration, let cool slightly. In the meantime, we're making food paper cornets if we don't use a disposable piping bag.
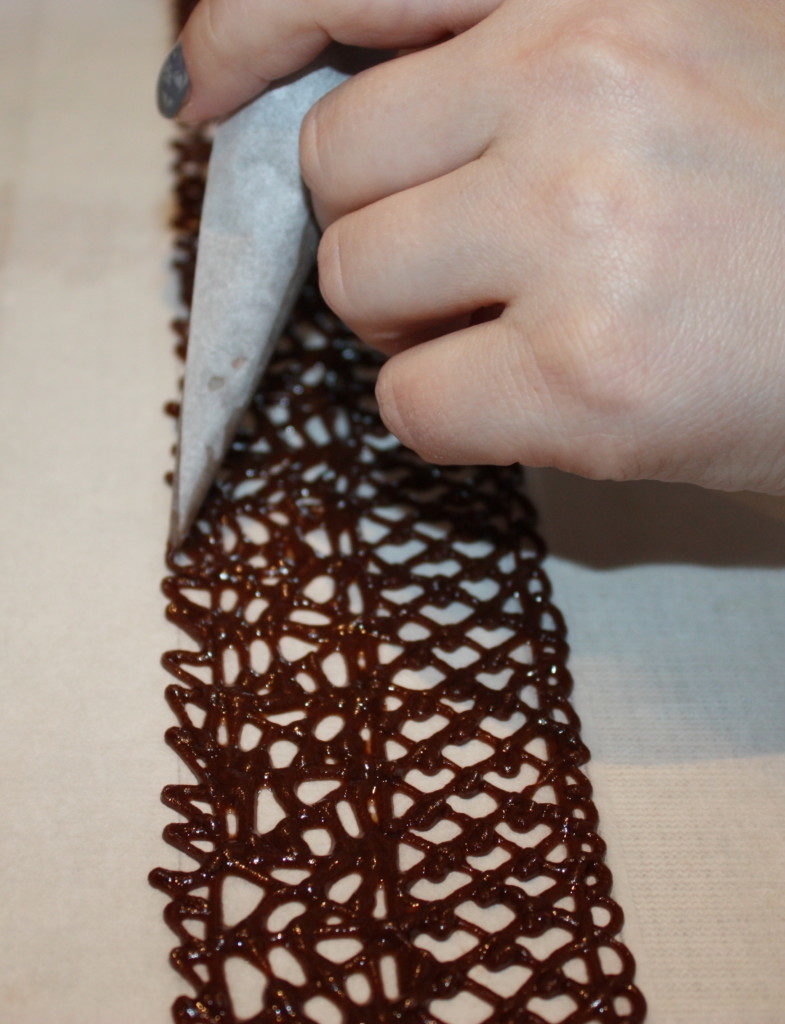
Fill cornet with chocolate. To work, it must be warm, but not hot. Before applying the drawing, make a couple of stripes on the draft and make sure that the stripes do not spread, but retain their shape. So, we apply a drawing on a stencil. At the bottom, I made wide chaotic curls. In this form, it is not advisable to use them for decoration, as they are too wide and will crack during the decoration of the dessert. If you decide to use this decor, then apply the strips closer to each other so that the holes are smaller.
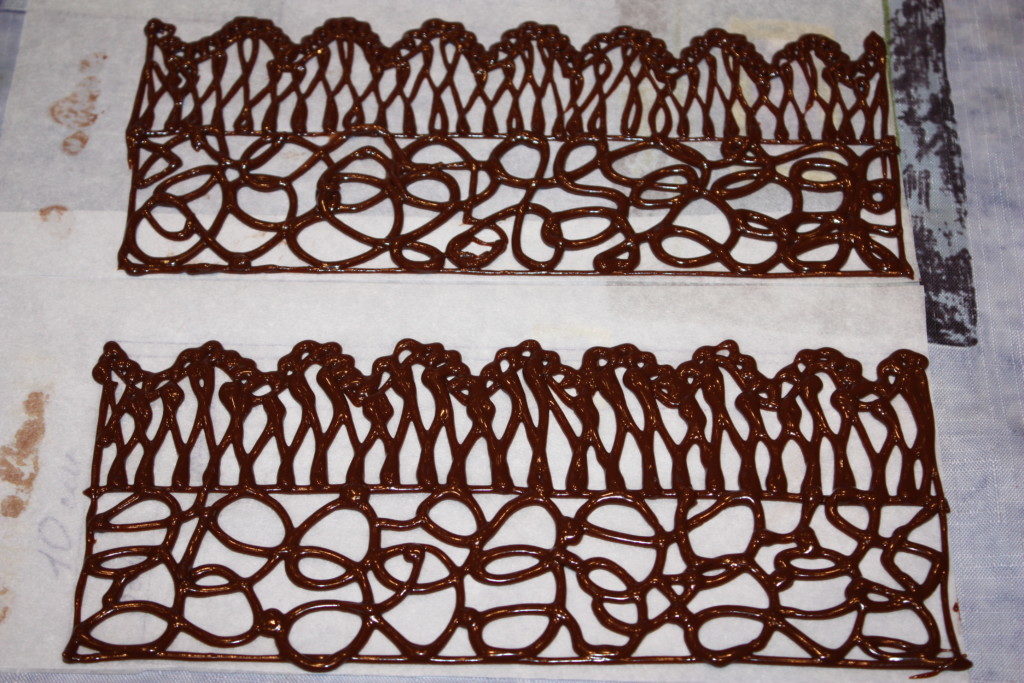
Large holes in the decor I will cover with white chocolate. We put it in a water bath and melt it. When the melted chocolate has become homogeneous and cooled to a warm (!) State, we fill empty holes with it. We leave the decor to lie on the table for about an hour.
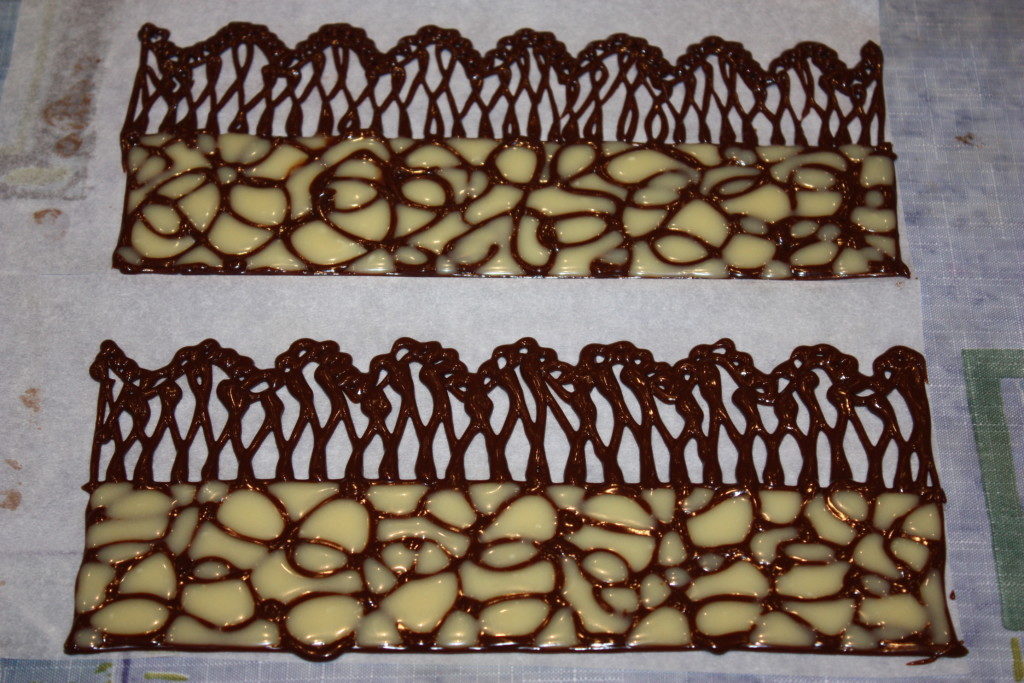
You can make decor without white chocolate and with a denser pattern. And it is not necessary to draw 10 stencils. It is enough to prepare only one, and put clean paper on it and draw, as shown in my photo.
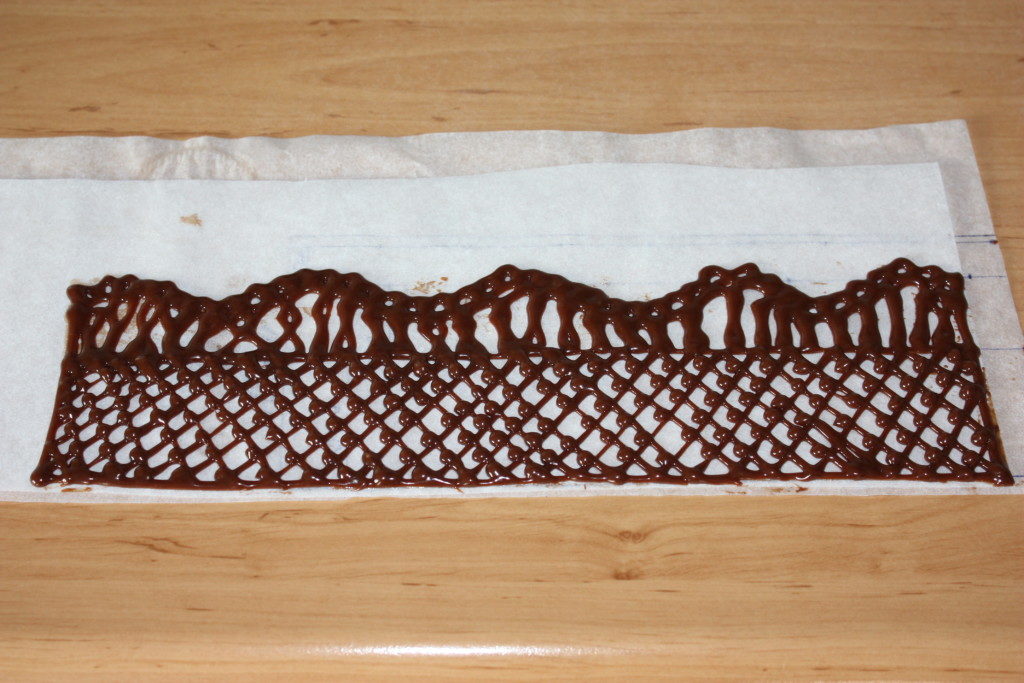
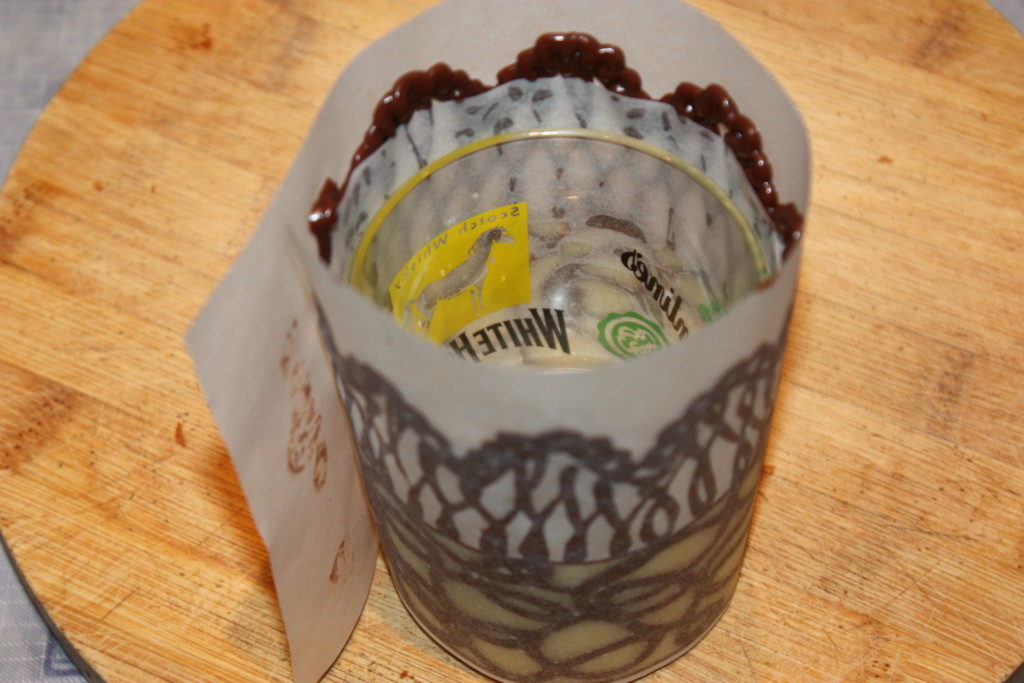
Wrap a glass of whiskey with food paper and fix it. With the next layer, carefully apply a stencil with a pattern and leave it to harden in this form in a cool, but not damp room for 6 hours, ideally overnight. You can not put chocolate in the freezer (!) It will be covered with drops of water. Portion decor for ice cream is ready.
How to make chocolate cake decoration
To decorate the cake, you will have to draw a long strip. What pattern came out this time with me, you can see in the photo.
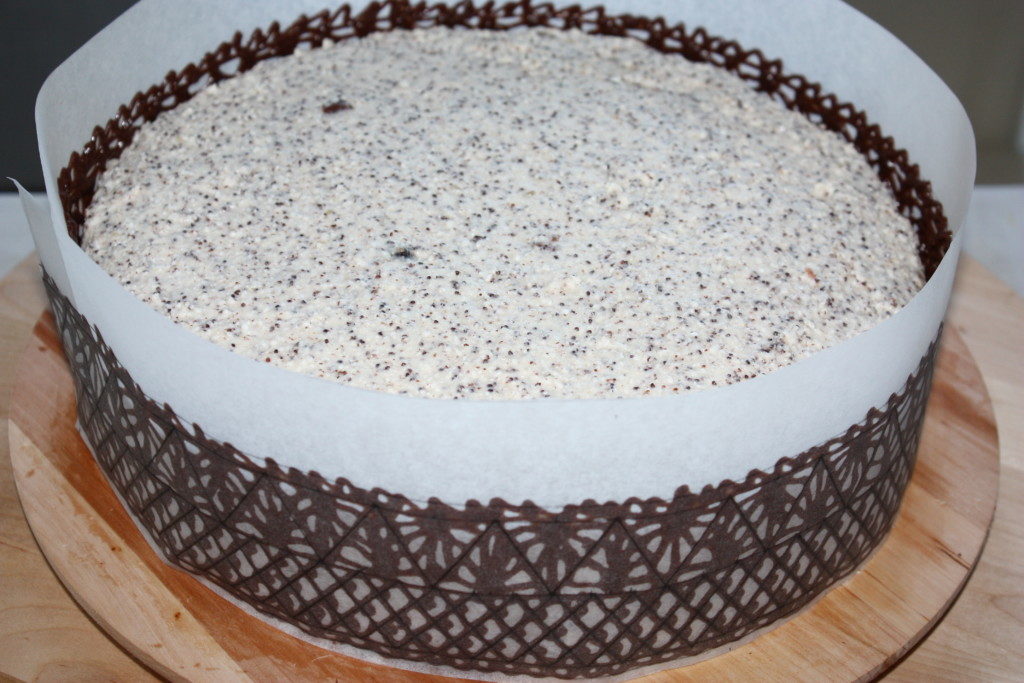
When the decor has been lying on the table for about an hour, we put it on the cake, which must be from the refrigerator. You can not apply chocolate decor on a cream at room temperature. On the left side of the photo, you can see how the decor on paper is overlapped and with a margin of drawing. It is very important to wrap the cake in decor like this. When the chocolate hardens well, we bend the paper a little to the junction of the two halves of the decor, cut off an unnecessary amount of the pattern with a hot knife. The seam or joint can be corrected with the remaining chocolate.
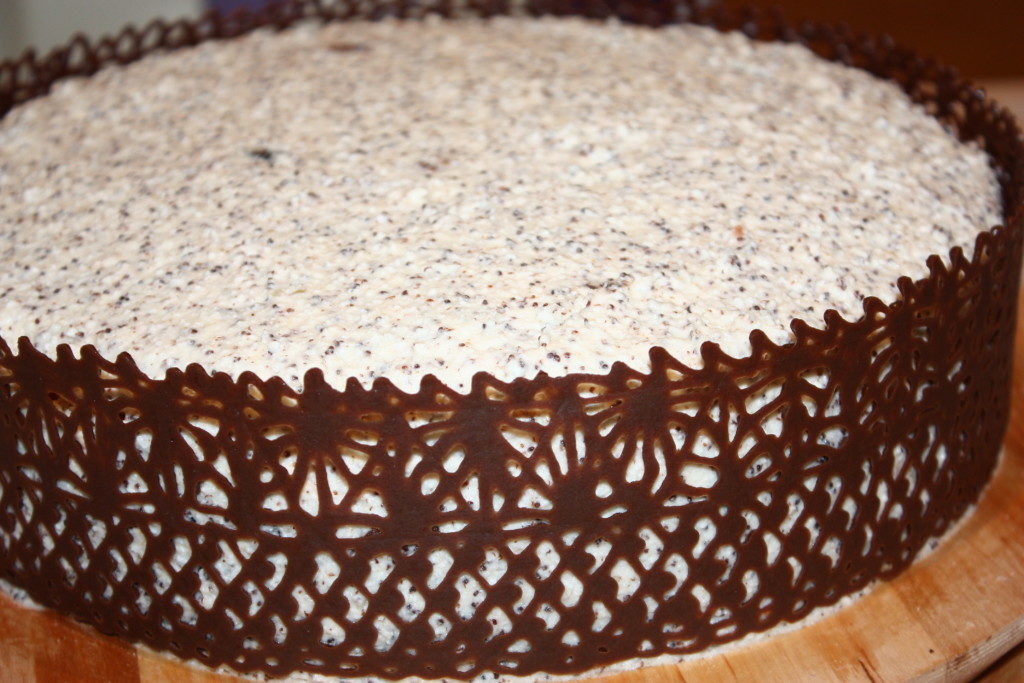
Gently pull on the edge of the paper and remove it. It is easily separated from the frozen chocolate decor.
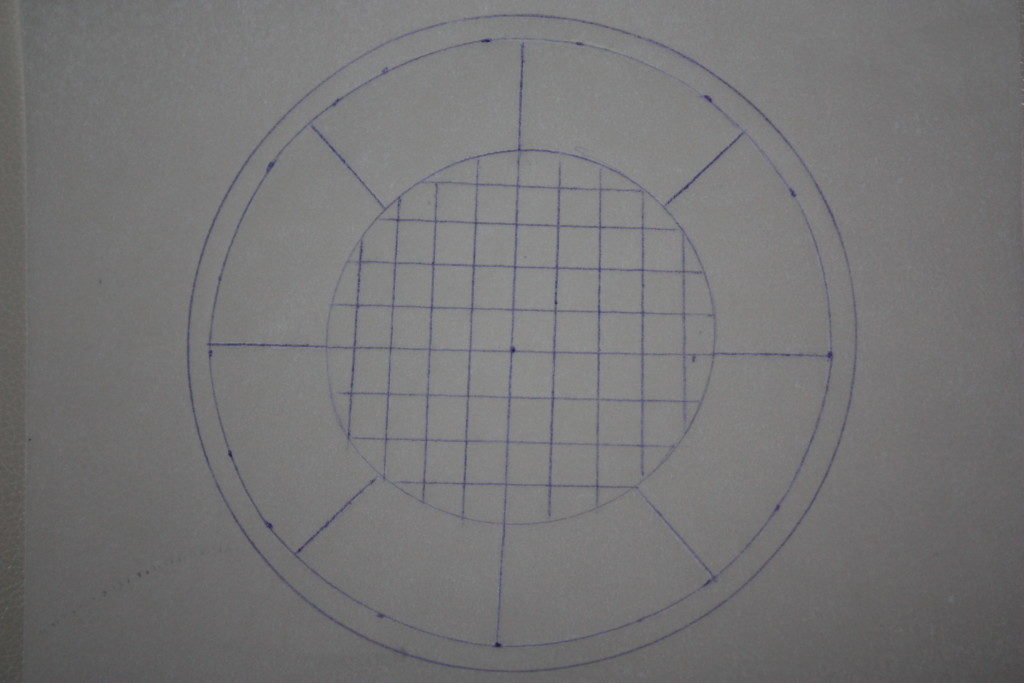
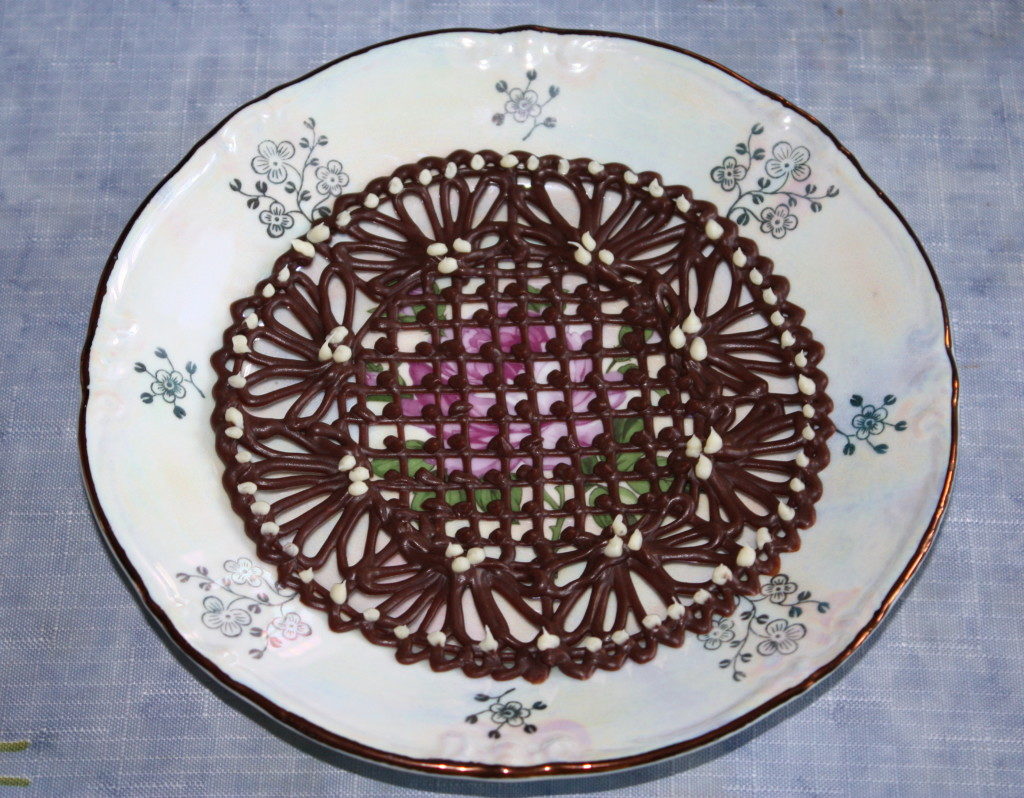
You can also decorate a plate for serving dessert . We put the paper on the plate in which we will serve the dessert, mark the desired diameter with dots.
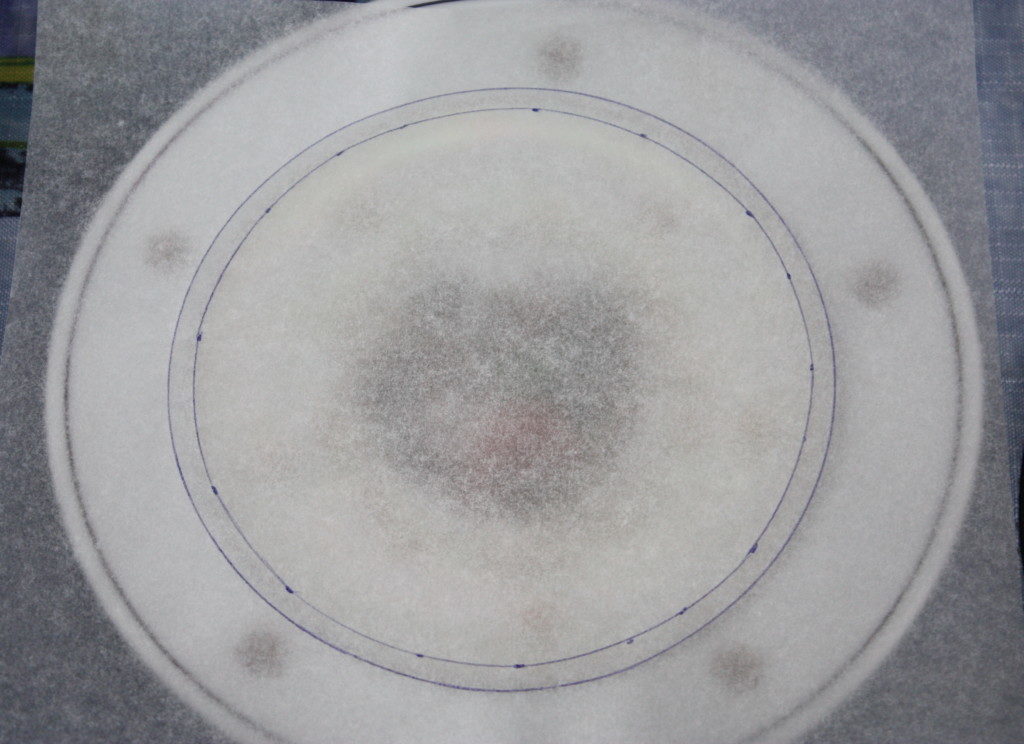
Next, we apply the drawing already on the table.
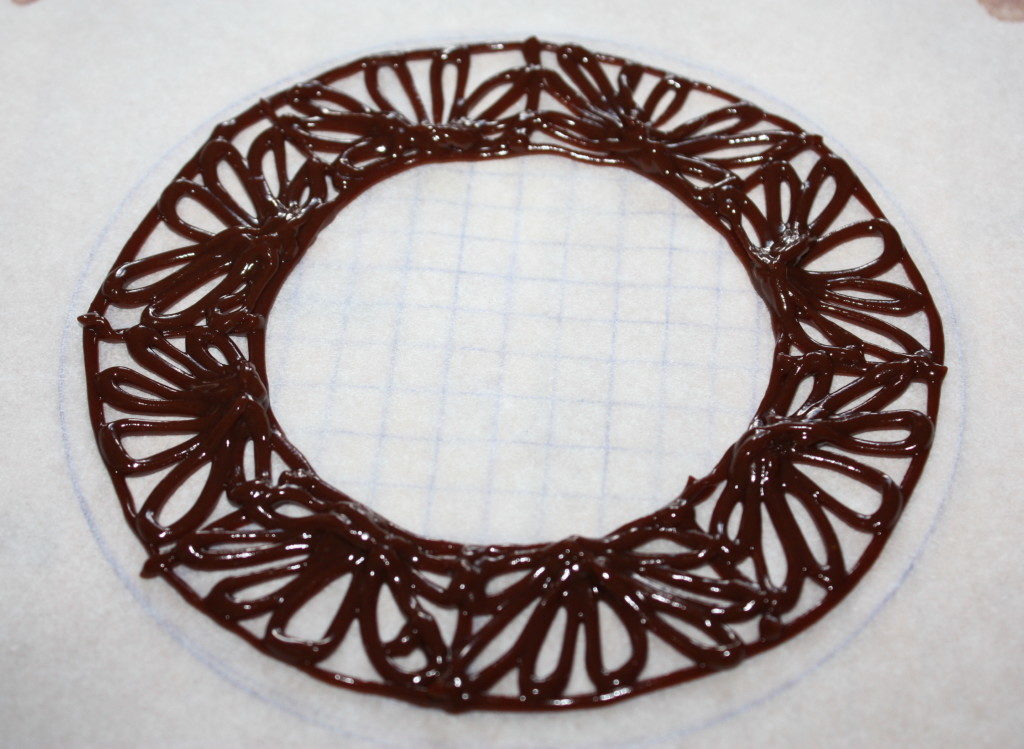
We begin to apply the drawing in zones.
Fill with liquid chocolate and other areas.
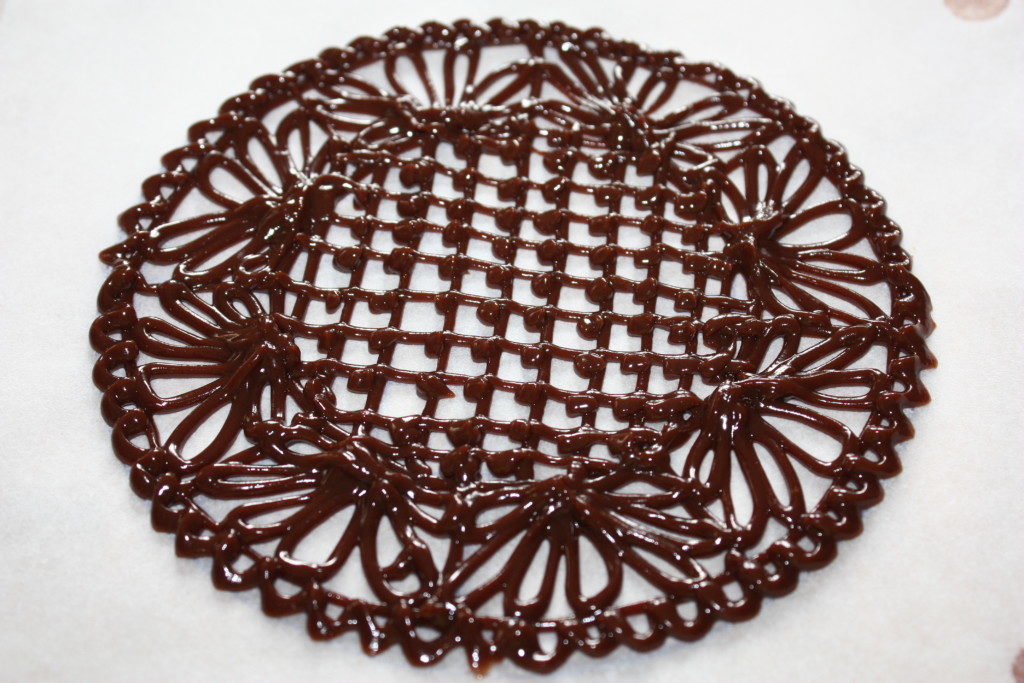
We leave the finished decor for the plates for 6 hours (overnight) to completely freeze.
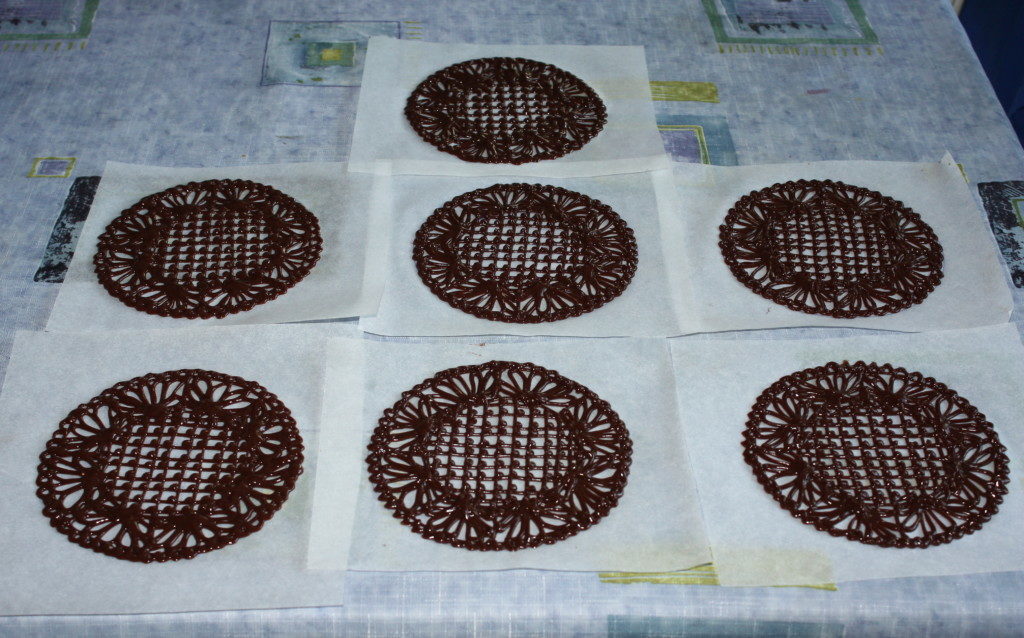
We transfer the finished frozen decor to a plate. If desired, you can put a few drops of white chocolate on it, which I did.
Cook beautifully and with love! 😉
