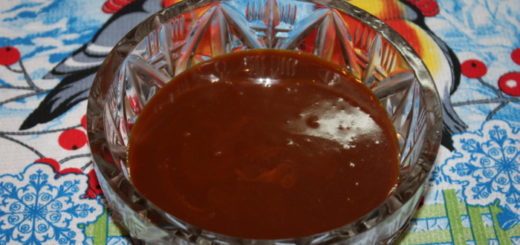
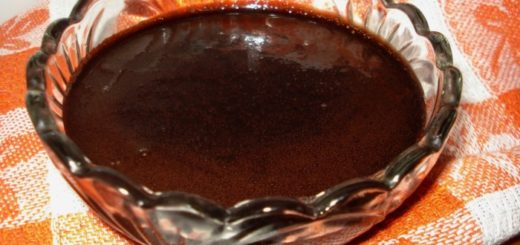
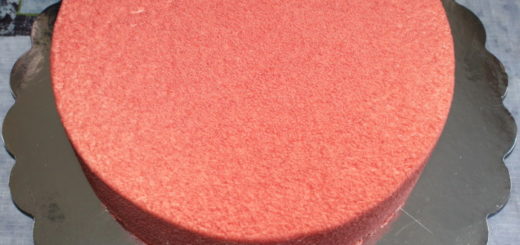
Mirror icing for cake or white and dark chocolate glaze
Mirror glaze is a spectacular, beautiful and popular glossy coating of cakes and other desserts in our time. Most often they are covered with mousse cakes, but traditional ones are no exception. Although, traditional cakes, as a rule, do not cover the whole, but only the top. On the side surface, the glaze should simply flow down in beautiful drips. Glassage is a term derived from "gloss". Its meaning is to bring shine to something. For confectioners, this is a shiny glossy coating of cakes and other desserts. Thus, confectioners understand the word glossy as a mirror glaze - gloss and gloss.
Today I will prepare a mirror glaze (aka colored glaze) to decorate and cover the cake. I will make it from a mixture of black and white chocolate. In my master class, with the help of step-by-step photos, I will share with you all the secrets of making mirror glaze and point out the main points that you need to pay attention to when preparing a glaze at home. If you follow the tips, then you will get a beautiful and perfect mirror glaze for the cake - without bubbles, which will lie in an even layer and definitely will not slip off the dessert.
Ingredients:
For white glaze:
- 100 grams of white chocolate;
- 100 grams of invert syrup or confectionery glucose;
- 70 grams of condensed milk 8.5%;
- 10 grams of gelatin + 60 ml of cold water.
For dark gloss:
- 100 grams of dark chocolate 72%;
- 100 grams of invert syrup or confectionery glucose;
- 70 grams of condensed milk 8.5%;
- 10 grams of gelatin + 60 ml of cold water.
For syrup:
- 100 grams of white sugar;
- 50 ml cold water.
How to make a mirror glaze for a cake
We start making a glaze with the preparation of gelatin. Soak it and leave for a while so that it swells.
Pour condensed milk, invert syrup or confectionery glucose into a mixer bowl or into a cup with a wide neck, break white chocolate into small pieces.
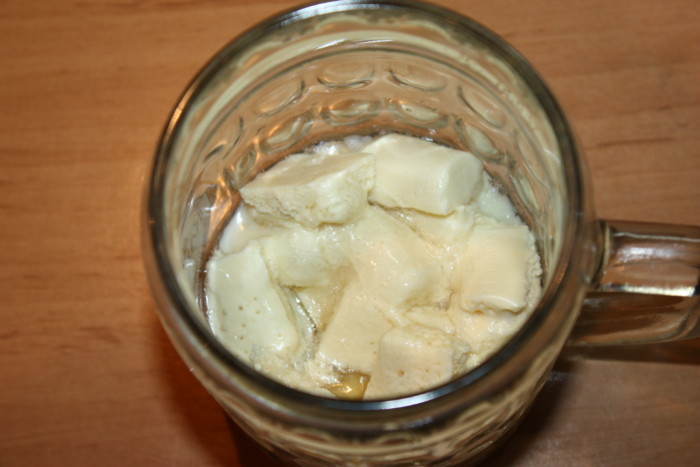
Pour sugar into a saucepan with a thick bottom and spread it over the entire bottom. Carefully pour water into the very center. It is better to do this with a tablespoon. From the center, the water itself will be distributed throughout the sugar. We put the syrup on the fire. At the same time, we forget that in the house there are spoons, whisks and all other utensils with which you can mix the syrup. The only thing that is allowed is to shake the pan a little from side to side for an even boil. We bring the syrup to 121 ° C and remove from heat.
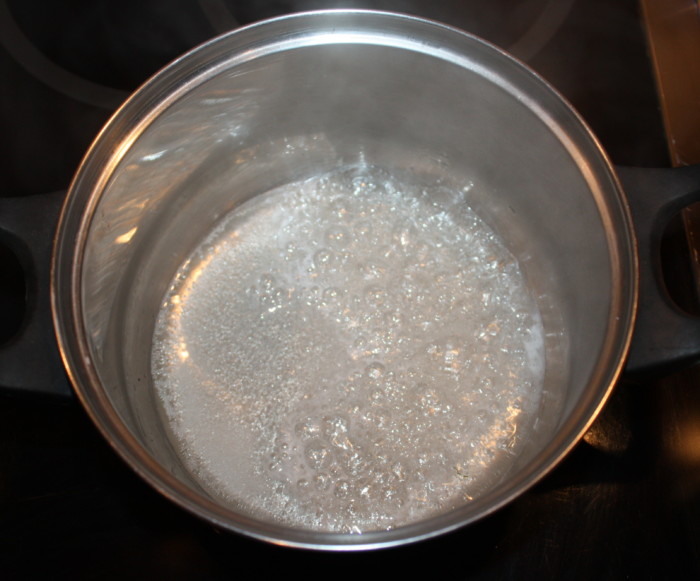
We lower the swollen gelatin into a bowl with chocolate and pour the whole mass with the prepared syrup.
We take an immersion blender, lower it into the bowl at an angle of 45 ° and start punching through the entire mass without lifting the blender up. If you keep it even and periodically raise it, then the glaze will be filled with oxygen and on the surface of your finished cake the coating will not be smooth, but in bubbles and spoil its appearance.
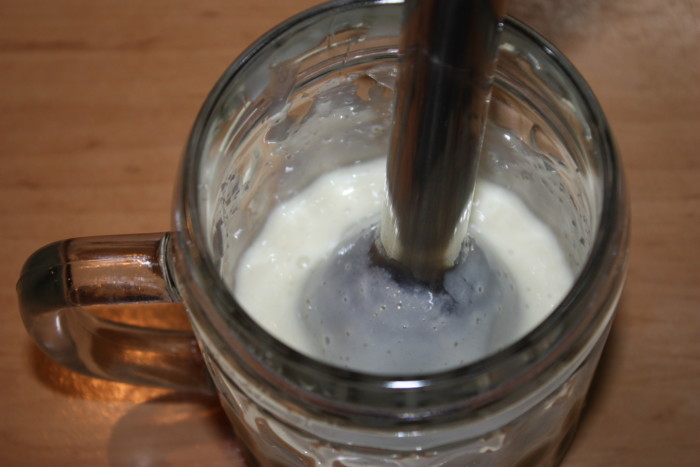
As soon as the mass has become completely homogeneous, cover with cling film in contact with the glazing. If you simply cover the glass with cling film, condensation will form on the surface of the mirror glaze.
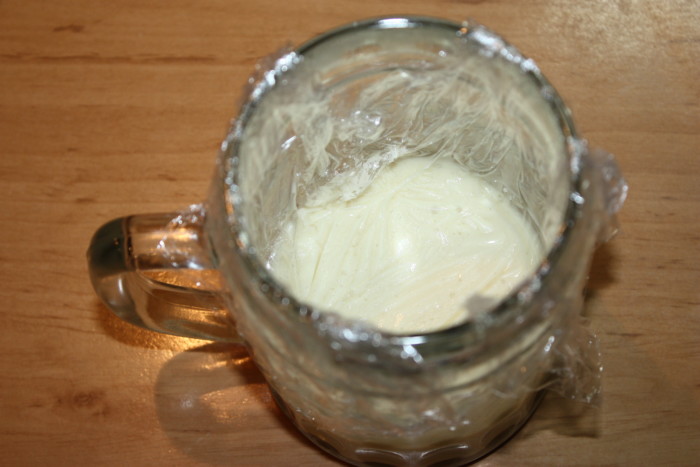
We do exactly the same procedure when preparing chocolate glazing. To do this, just change the white chocolate to black, bitter.
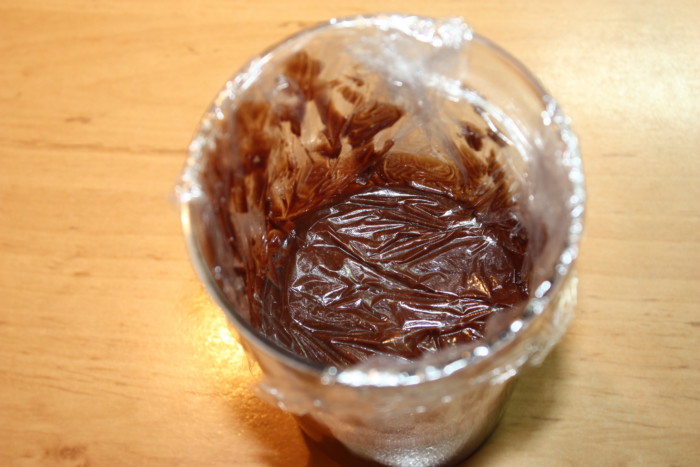
When the colored mirror glaze for the cake is ready, leave it to cool on the table. After complete cooling, put in the refrigerator.
Before use, the glaze must be melted in a water bath. The operating temperature is 36°C, but nothing bad will happen if you have 34°C-37°C on the thermometer. The main thing is that it should be no less and no more (!). Remember that you need to apply mirror glaze on a well-frozen product.
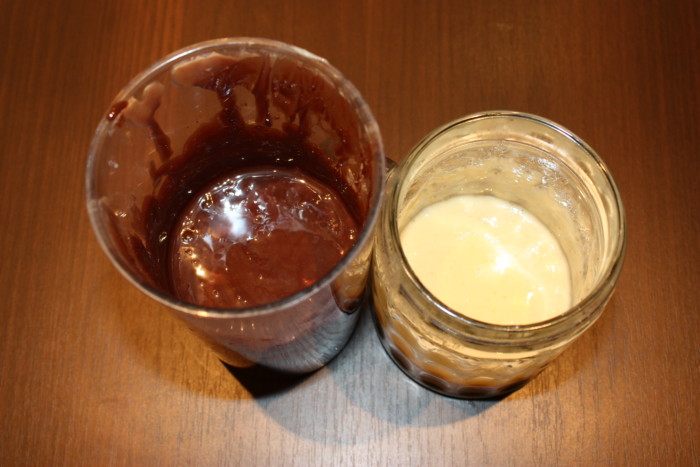
If you need a colored mirror glaze, then use the prepared white chocolate glaze as a base. To do this, simply add fat-soluble food coloring to it just before serving on dessert.
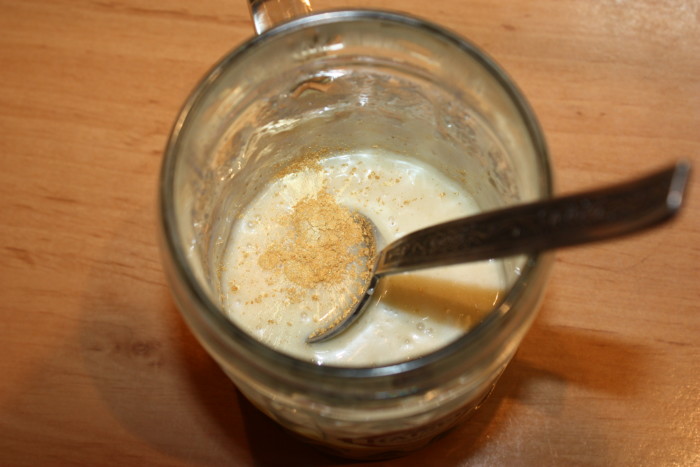
If you need to get a pure white color (like a sheet of paper) - add ½ tsp. isomalt. My photo shows the addition of gold kandurin to give the glossy pearl effect.
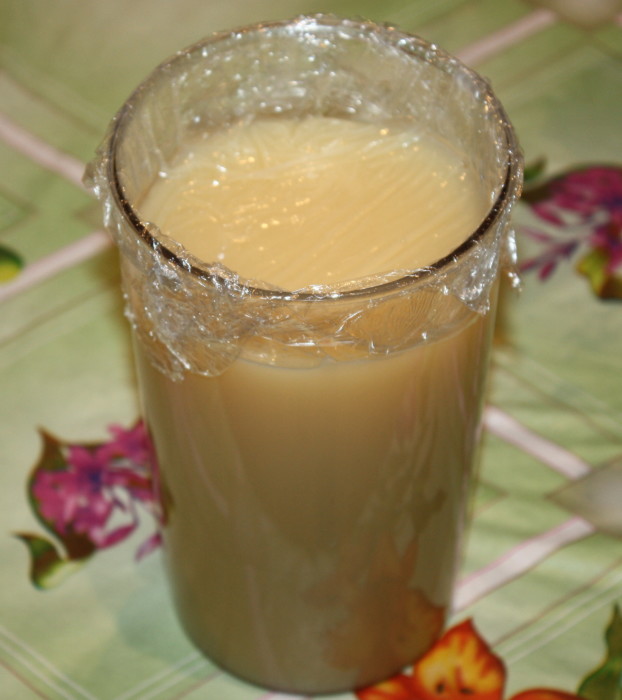
For convenience, I always prepare a double volume of white chocolate glazing. Such a mirror glaze for a torus is stored in the refrigerator for no more than two weeks.
Mirror Glaze Video Recipes
For more details on how to properly prepare mirror glaze at home, on the intricacies of using and applying it to the cake, see the video. Very good detailed video instruction.
If you like to experiment, then here's another video recipe for glazing - homemade creamy mirror glaze. The author is the YouTube channel “I am TORTodel!”
The third video recipe for a glaze from the YouTube channel of the previous author. From it you will learn how homemade mirror glaze with cocoa is also prepared. The author shows how to make a black glaze.
